

How To Remove Clorox Mop Head
Every editorial product is independently selected, though we may be compensated or receive an chapter commission if yous buy something through our links. Ratings and prices are accurate and items are in stock as of time of publication.
Yes, at that place is a right way and a wrong way! These expert tips will protect your floors from accidental harm and get them truly clean.
If your floors are looking icky and sticky, it's probably time to mop. But in order for your mopping to be effective, knowing how to mop floors the correct manner is cardinal, since cleaning professionals say it'southward not as elementary every bit grabbing a mop and bucket.
So, what do you demand to know? For starters, how to prep your floor for mopping (hint: you lot'll want one of the best vacuums or robot vacuums), what cleaning agents to apply, and what type of mop is best for your flooring. That'south right—in that location'southward a difference betwixt how to clean wood floors and how to clean vinyl floors. You might also exist wondering if the stellar Shark steam mop you read nigh volition be a good fit for your floors, or whether the all-time robot mops or vacuum mop combos will truly make your life easier.
We told you there was a lot to consider! But we're nearly to make your life a lot easier with these stride-by-step instructions. We've laid it all out—from the expert-recommended ways to mop your floors to the best cleaning solutions—so your floors volition be sparkling in no time.
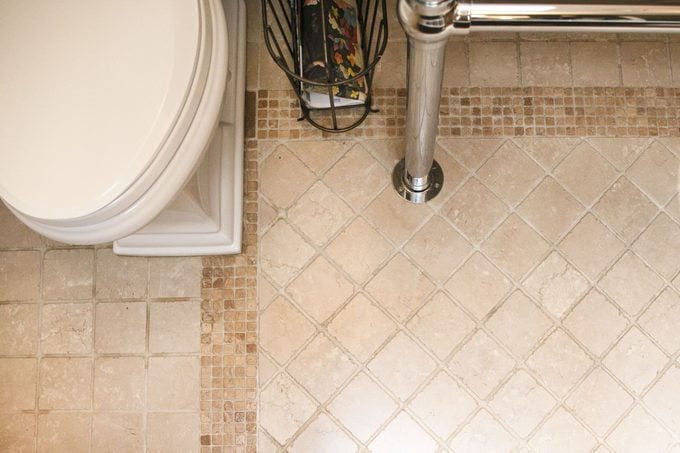
Footstep ane: Place your flooring type
"The starting point is identifying the type of floor that y'all'll be working on and choosing the right mop, bucket, and cleaning product for the job," says Jodie Hamilton, a certified cleaning expert at Amazing Services. The cleaning tools and solutions you'll demand differ depending on the floor type. Using the wrong type of mop for your floors won't ruin them, only it won't clean them either—it will simply push button the clay around. Using the wrong cleaning solution, nevertheless, can cause a bit more of a mess. For example, if y'all utilise a solution that'south not suitable for hardwood floors, you lot could strip the cease, or if you lot utilize a waxy cleaner on tile, it could go out your floors feeling glace or looking hazy.
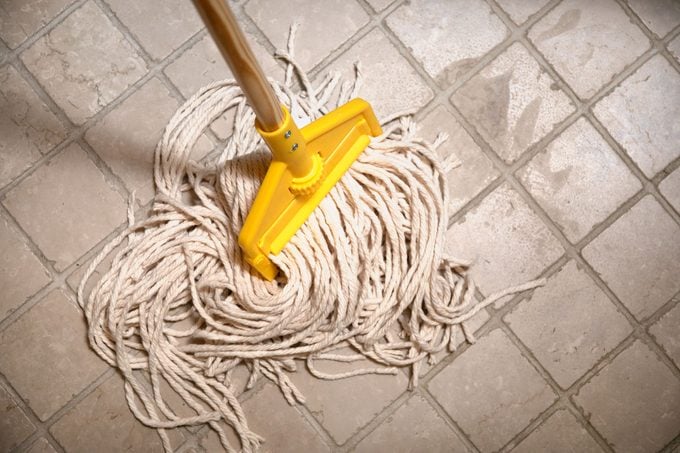
Step 2: Choose the correct mop for your flooring blazon
If yous thought that picking a mop was merely a affair of personal preference, think once more. "The choice of the mop depends on the type of flooring you take," says Natalie Barrett, a cleaning professional and quality supervisor at Bang-up Cleaning Services. "For instance, ceramic tile floors call for a strip mop, while a smooth floor (such equally hardwood) calls for a sponge mop." The reason? "If y'all don't apply a strip mop on ceramic tiles but instead use a sponge mop, you risk pushing the dirt from the tiles into the grout. A smoothen or hardwood floor doesn't have any grout or openings—this is why a sponge mop is all-time."
For ceramic tile or textured flooring, grab the Yocada Looped-End String Wet Mop, which has almost 1,300 v-star reviews on Amazon and is rated for commercial use (which means it'south durable enough to stand up up to whatever household messes). For hardwoods or other smooth floors, try the Libman Nitty Gritty Sponge Roller Mop; it has a built-in scrub brush that tackles stuck-on gunk, too as a built-in wringer.
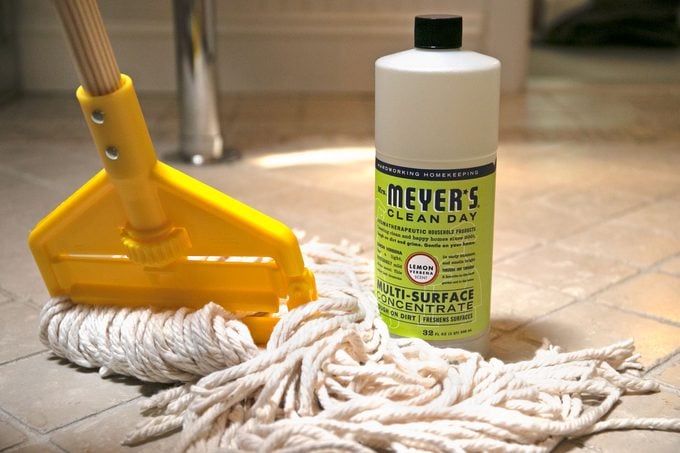
Pace three: Select the right cleaning product for your flooring type
"Some cleaning agents will leave behind oily stains if they're non properly called," Hamilton says. "For example, if you're cleaning a forest surface, it'south not advisable to use cleaning detergents with ingredients like ammonia, vinegar, and oils. Stone, on the other paw, does not go well with lemon or vinegar-based cleaners." Check the label of your cleaning product to run into what surfaces it's recommended for earlier getting started.
For hardwoods, Barrett suggests using Bona Hardwood Cleaner considering "information technology's delicate and not too strong just at the same fourth dimension cleans perfectly and leaves a shine behind." It's also pH balanced and doesn't leave behind any sticky messes. For a DIY arroyo, Hamilton suggests a combo of lemon juice, olive oil, and hot water.
For ceramic tile, vinyl, and other not-porous surfaces, Barrett recommends Mrs. Meyer'southward Clean Day; this full-bodied solution works on everything from tile to marble to linoleum. For homemade cleaning options, y'all can mix borax with water, or mix two gallons of hot water with two tablespoons of castile soap and a few drops of your favorite essential oil.
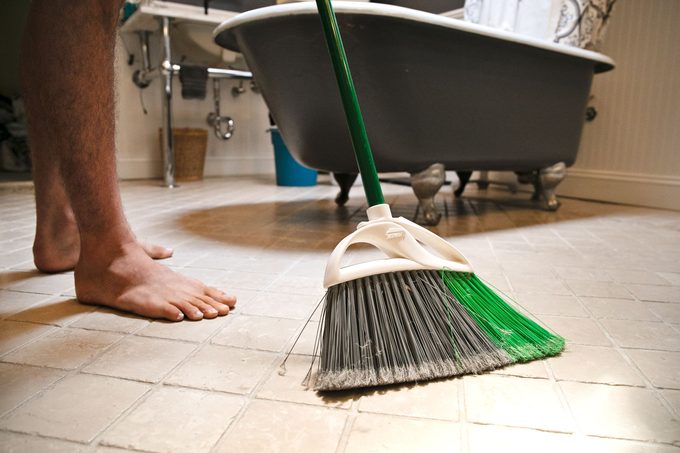
Stride 4: Sweep and/or vacuum the floor
Any you do, don't skip this pace! The experts say it'south essential. "Y'all avoid making muddy messes or getting gummy floors by removing the excess dirt from the surface before y'all starting time mopping," Hamilton says. The best vacuums will suck clay right up, so take hold of one before you mop. Otherwise, you'll only exist smearing the grime around. Plus, if you notice any stubborn stains or food spills, this is the time to catch a soft sponge to remove them before beginning the mopping procedure, adds Barrett.
Then, when should you pull out the broom, the vacuum, or both? "It's best to vacuum if y'all only have hairs or dust on the surface," says Barrett, "while sweeping is a improve selection if yous're trying to get rid of larger pieces of clay or other products that may be difficult for your vacuum cleaner to tackle."
Look for a vacuum that has soft beard (so as not to scratch your floors) and strong suctioning power that can pull clay out of whatever nooks or crevices. The newly launched Dyson V15 Detect+ is a bully option. It uses laser engineering science to target microscopic grit and has a HEPA filter that tin capture particles and pet dander as minor equally 0.ane microns. If you're a pet parent, you might also want to take a wait at these top-rated vacuums for dog and true cat pilus.
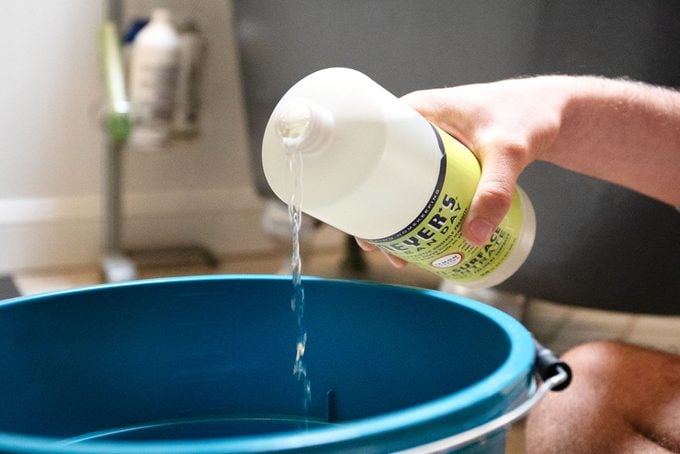
Step 5: Mix the cleaning agent with water in a bucket
Once the floors accept been swept and/or vacuumed, it's time to catch your saucepan. "Mix the cleaning production with warm water in a bucket as instructed on the label," says Barrett. Await for a bucket that can concur at least v gallons (any smaller and information technology'll be harder to dunk your mop without making a mess), has a built-in wringer if your mop doesn't accept i, and has wheels to make cleaning easier—otherwise, you lot'll have to walk over newly washed floors to get to your bucket or lug it effectually with yous every bit y'all mop.
Hamilton adds: "If this is your offset time using the selected product, make certain to carefully read the instructions and mix with water as brash. Failing to practice this may requite you a completely unlike consequence than the intended one." For example, using too little water could get out behind a sticky residue that just attracts more gunk, whereas using too little volition exist ineffective.

Step vi: Moisture the mop so information technology's damp, not wet
"Dip the mop in the bucket and remove the excess water using a wringer or your easily—the mop should only be damp, non dripping," Barrett says. This is especially important when you lot're dealing with wood floors. "Using a mop that is too moisture and leaves water everywhere could harm your floors. Too much water on woods can cause the material to swell upwards, and it can issue in blackened spots, h2o-stained areas, or warped or completely ruined wood."
Tiles aren't impervious to too much water, either. "H2o tin can too push the tile to lift upwards or corking," explains Barrett. "It tin can as well be a cause of mold in the long term." The aforementioned goes for laminate, which can bend and buckle if it's doused with water. That's why a mop and bucket combo with a born wringer is a expert idea.
RELATED: Cleaning Products Professional House Cleaners Always Buy

Step 7: First mopping, making sure to use the right motions
Depending on the type of mop you've chosen, you'll demand to brand different movements when cleaning. String mops require a swishing motility, while foam mops crave light pressure level in one management. The rationale? "A swishing movement for cord mops volition forestall the clay from getting lifted up, while a pushing movement for a foam mop helps you lot lift the clay upwardly, which is what you desire to do," Barrett explains.

Step 8: Movement astern with each mop stroke
Perhaps the single all-time piece of advice for how to mop floors correctly is this: Motility backward as y'all mop. "Start mopping moving backward, and avoid stepping on the moisture area, as this will leave backside foot traces," Barrett says. Moving backward gives the wet areas time to dry before you walk over them once again. She also suggests trying to mop in directly lines. It'll make you less likely to miss spots and decrease the chances that you'll footstep somewhere that's been freshly cleaned.
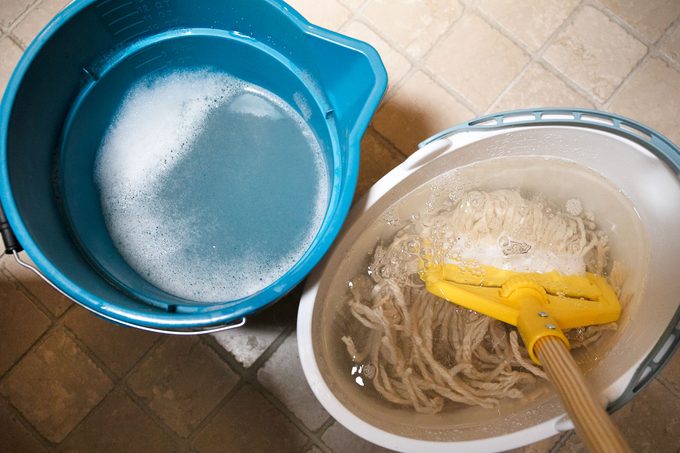
Step 9: Rinse the mop as you go
Rinsing your mop regularly will keep you from pushing dirty water around, so you'll need a second bucket of plain h2o to dip your mop into subsequently y'all terminate each section. "Rinse the mop afterward you've finished a portion of the flooring," Barrett says, "so dip information technology in the saucepan with the cleaning solution once again." Practice this near every 20 to 50 square feet, and don't forget to wring it out and then the mop is clammy (non wet!) earlier resuming.
You can use a simple bucket for this function since it'south not required for you to wring your mop out—though using a second five-gallon saucepan with a wringer will make you less likely to leave drips equally you move your mop from the saucepan of water into the bucket full of cleaning solution.
RELATED: Things Professional person House Cleaners Do in Their Ain Homes

Pace 10: Keep going until you've mopped the entire floor
Working your way across the entire floor, walking backward so as non to leave footprints on whatever wet areas, proceed until every area has been mopped. One pass should be skilful enough, just if the floor was especially dirty, you can repeat the process until you're satisfied with the results.
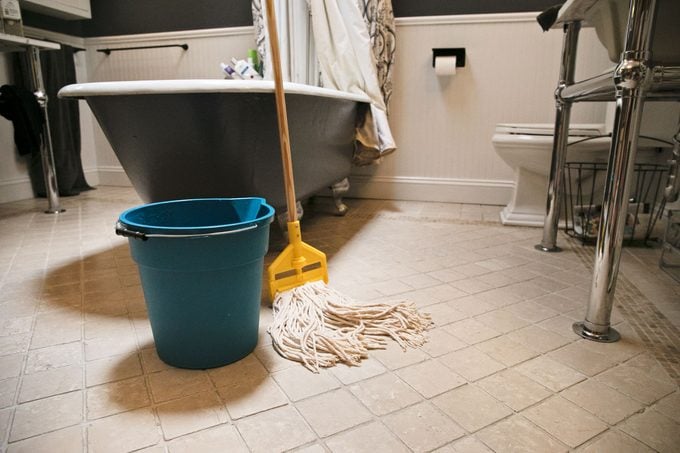
Stride 11: Let the floor dry out
Now, your work is done. Simply rinse the mop again, and exit the floor to dry. Try to avoid walking on it for 15 to 20 minutes, or until it's dry out to the affect. If you do have to walk on it, wear clean socks. You can too aid your floors dry faster by using a floor duster.

Step 12: Make clean your mop and bucket
I final tip: "A lot of people forget to clean the bucket and mop after utilize and exit them muddied for the next time they're set to use them—that'south a bad idea," Hamilton says. Dirt and grime can dry and get stuck on the mop, making your mopping less effective the adjacent time around.
To clean your mop and bucket afterwards use, Barrett suggests putting on a pair of cleaning gloves, which will continue you protected from leaner, and thoroughly rinsing the mop and bucket with warm water in your sink or tub. Then, fill the bucket with h2o and bleach, using a solution of 1 gallon of water and three-quarters cup of bleach. Put the mop in the saucepan, and let information technology sit for about 10 to 15 minutes. "Only exist careful if y'all're not using ammonia-based cleaning products," Barrett cautions, "every bit ammonia and bleach create a unsafe and toxic gas." In that example, you can substitute the bleach with vinegar. Stop past washing the bucket with a sponge and rinsing the mop thoroughly. And then give yourself a pat on the back for a chore well washed.
Sources:
- Jodie Hamilton, a certified cleaning expert at Astonishing Services
- Natalie Barrett, a cleaning professional and quality supervisor at Nifty Cleaning Services
Source: https://www.rd.com/article/how-to-mop/
0 Response to "How To Remove Clorox Mop Head"
Post a Comment